Oil is the lifeblood of your Yamaha outboard. Neglecting regular maintenance of your outboard’s oil can cause irreversible damage and if you don’t perform regular oil changes, expect recurring issues that take away years of reliable use and optimal performance.
To help you understand everything you need to know about Yamaha outboard engine oil maintenance, YamahaOutboardMaintenance.com has put together a comprehensive guide on how to do a Yamaha Outboard Oil Change.
In this guide, you will learn the answers to some of the most frequently asked questions about Yamaha outboard engine oil maintenance:
- How Frequently Should I Change My Yamaha Outboard Oil?
- How Do I Conduct an Oil Change for my Yamaha Outboard?
- Why is Using Yamalube Engine Oil and Yamaha Oil Filters Important?
- Can I Use Automotive Engine Oils in My Yamaha Outboard Engine?
- What’s the Difference Between 4-Stroke versus 2-Stroke Engine Oil Maintenance?
How Frequently Should I Change My Yamaha Outboard Oil?
Some of the most common questions boaters ask are, “How often do you need to do a Yamaha outboard oil change?” and “What’s the Yamaha outboard maintenance schedule?“
Yamaha recommends changing your engine oil every 50 – 100 hours of operation. And if your Yamaha outboard is brand new, Yamaha recommends changing the oil after the initial 20 hours of operation.
The Yamaha outboard maintenance schedule differs for new outboards. New outboards need an oil change after 20 hours of operation as internal engine components straight from the factory seat properly after these initial hours of operation.
Refer to your owner’s manual or Yamaha’s website for your engine’s exact interval requirements.
Yamaha Outboard Oil Changes for Storage and Winterization
It’s common for newer boaters to believe that if their engine isn’t running during the off-season or storage periods, then an oil change is unnecessary. However, we recommend performing an oil change before storage.
During storage
Residual acids and moisture left in the crankcase will pit bearings and affect other engine parts. With moisture expanding and contracting due to temperature shifts, moisture can work its way deeper into your engine. For these reasons, Yamaha recommends changing your oil whenever your boat is likely to be idle for a prolonged period.
Troubleshooting
An oil change gives you insight into the internal components of your engine. If your engine starts to develop performance issues, one of the first things you should do is change the oil and oil filter.
Many of your outboard’s problems can arise from either contaminated oil or oil levels being too high or low – simple oil replacement solves both issues and gives you the ability to judge the quality of the oil.
Additionally, the state of your Yamaha outboard’s engine oil is very often a barometer of your engine’s health. For this reason, it is valuable to have your oil tested periodically, and you can send it out to several companies that will provide a detailed analysis of developing issues simply from the chemical composition of the oil.
How Does a Yamaha Outboard Oil Change work?
Yamaha outboard oil changes are easy to perform on a Yamaha outboard. Nearly every model of Yamaha outboard motors provides easy access to the drain plugs.
An oil change can be completed within 15 minutes and requires only basic tools that most DIY boaters have around the house. Best of all, it’s a simple process that not only helps your engine run smoothly but also saves you money and gives you insight into any issues developing in your Yamaha outboard.
Before You Begin: Tips for a Better Oil Change
Before you begin changing your Yamaha outboard oil, here are some things to keep in mind for the best results:
- Yamaha color codes oil as yellow, so find the dipstick and fill plug by looking for their bright yellow color.
- Before draining the oil, run your engine for a few minutes to the operating temperature. This will lower the oil’s viscosity and suspend the contaminants. Warming the engine before draining the oil is a must for those who live in colder climates.
- Check the dipstick level before removing the old oil by lowering the engine to the running position. If you notice lower oil than what you put in the engine, it may be a sign of a leak or excessive engine temperatures; if it’s too high, water may have infiltrated your engine oil, or it has been improperly filled during the last servicing.
- Check for leaks while the engine is running. If it’s leaking, you may need to take it to a certified Yamaha mechanic to diagnose a larger issue.
- Note the smell and color of the old oil. Here are some indicators of common issues:
- Dirty oil will appear dark brown to black in color, and this is normal but indicates that an oil change was necessary.
- Milky brown oil indicates water contamination.
- A burnt smell indicates that your engine is running at too high of a temperature, indicating a problem with a thermostat or other potentially serious problem.
- A gasoline smell indicates that your engine may not have been properly broken-in, not reaching proper operating temperature, or that your sealant rings are at fault.
- For proper disposal, prepare to collect the oil and filter without spilling. Even with drain pans, a tarp or petroleum sorbent pad placed below the outboard will ensure that any oil spilled doesn’t affect your grass or driveway.
- To find the correct engine oil weight and capacity, review the tag on the top plastic shroud on the engine or look in your owner’s manual.
How to Change Your Yamaha Outboard Engine Oil and Filter
Now that you understand the basics of how to do a Yamaha outboard oil change, let’s cover the steps involved with each part of the process for your Yamaha outboard motor:
- Removing the Old Oil
- Removing the Old Oil Filter
- Install the New Oil Filter
- Add Fresh Oil
Removing the Old Oil
There are two basic methods of removing the old oil from your Yamaha outboard:
- Drain screw method
- Vacuum extraction method
Drain Screw Method
- Remove the dipstick to access the engine oil to break the airlock.
- Place or hold a catch pan beneath the oil drain plug.
- Slowly unscrew the drain plug and allow oil to flow. Don’t completely remove the drain plug until most of the oil is removed, as this can cause spills.
- Wait five minutes or until the oil has completely emptied.
- Install a new crush gasket on the drain screw.
- Reinstall the drain screw.
Note: The drain screw method is messier than the vacuum extraction method and may not completely empty the oil reservoir. Vacuum extraction method
- Remove the dipstick to access the engine oil to break the airlock.
- Insert the plastic tube into the dipstick tube.
- Begin pumping the vacuum extractor, using suction to pull the spent oil from the pan.
This method is preferable to the drain screw method and the primary method used among marine mechanics but requires an additional purchase of a vacuum extractor. Typical prices for a vacuum extractor start at $50 but prevent unwanted spills.
2. Replacing the Old Filter
Once the oil is completely drained, it’s time to turn your attention to removing the engine oil filter. Depending on the model of your Yamaha outboard, your filter may have a drain lip that will help minimize the mess. Place a rag beneath the filter to catch any spilled oil as an added precaution.
Removing the oil filter is simple by using a properly-sized filter wrench—we highly recommend using a filter wrench. Simply turn the filter counterclockwise until the filter is broken loose, and remove.
Set the filter aside, as you can take your filter apart later if you wish to inspect it for any contaminants or debris trapped in the filter.

3. Install the New Oil Filter
The new oil filter should be removed from its package and the O-ring lubricated with a thin coat of fresh engine oil. Spin on the fresh oil filter and gently tighten with your filter wrench to seat the O-ring without over-torquing.
Installation of the new oil filter is the opposite of removal. Before installing the new filter, use your finger to coat the rim of the filter with oil to create a better seal. Next, simply line up the threads of the filter and use the filter wrench to tighten the filter. Be sure not to overtighten/over-torque the filter, as you can ruin the threads and damage the filter.
4. Add Fresh Oil
Loosen the yellow oil fill plug on the top of the engine and pour in fresh oil using a funnel to minimize spills.
It’s highly recommended to add slightly less than the stated capacity for your Yamaha outboard. This is because excess oil may be trapped in the engine, and levels may become too high.
Start the engine and give it a few minutes to allow the engine oil to circulate. Then, recheck the oil level on the dipstick to ensure that the oil has properly drained down into the oil pan.
- If the oil is too high, remove a small amount of oil to lower it to the operating volume.
- If the oil level is low, add more oil in small increments until it reaches normal operating volume.
Once the oil is within the required range for your Yamaha outboard, the oil change is complete.

Why is Using Yamalube Engine Oil and Yamaha Oil Filters Important?
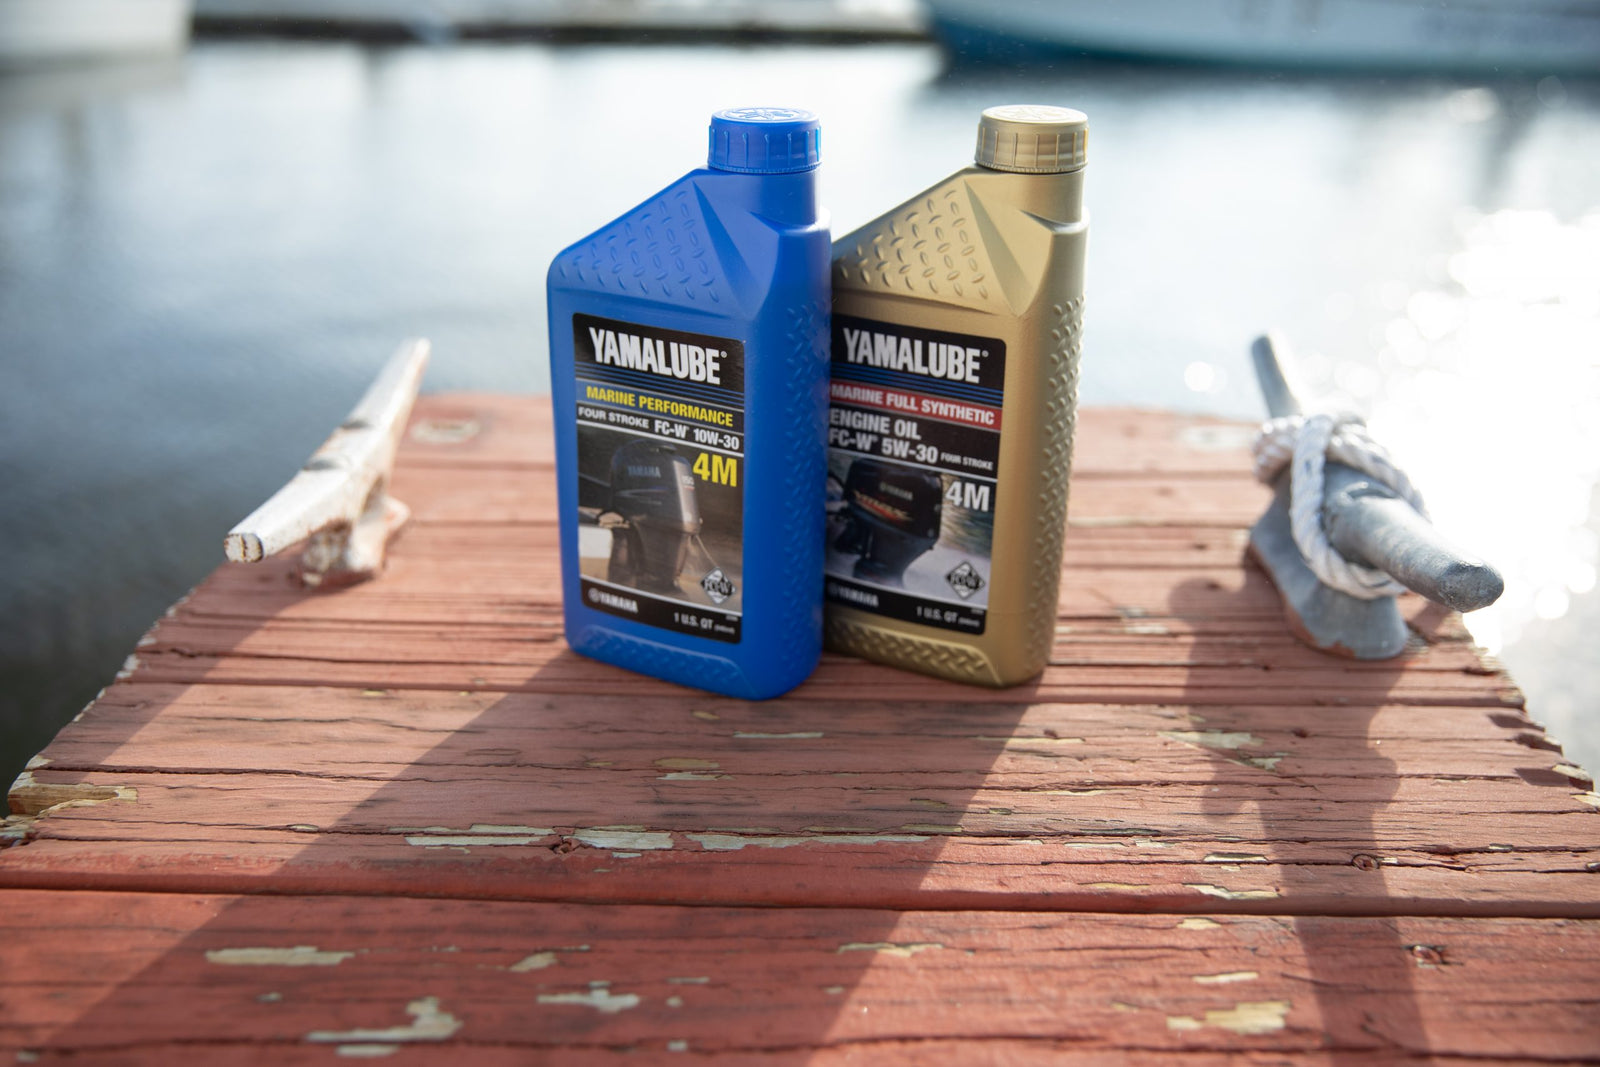
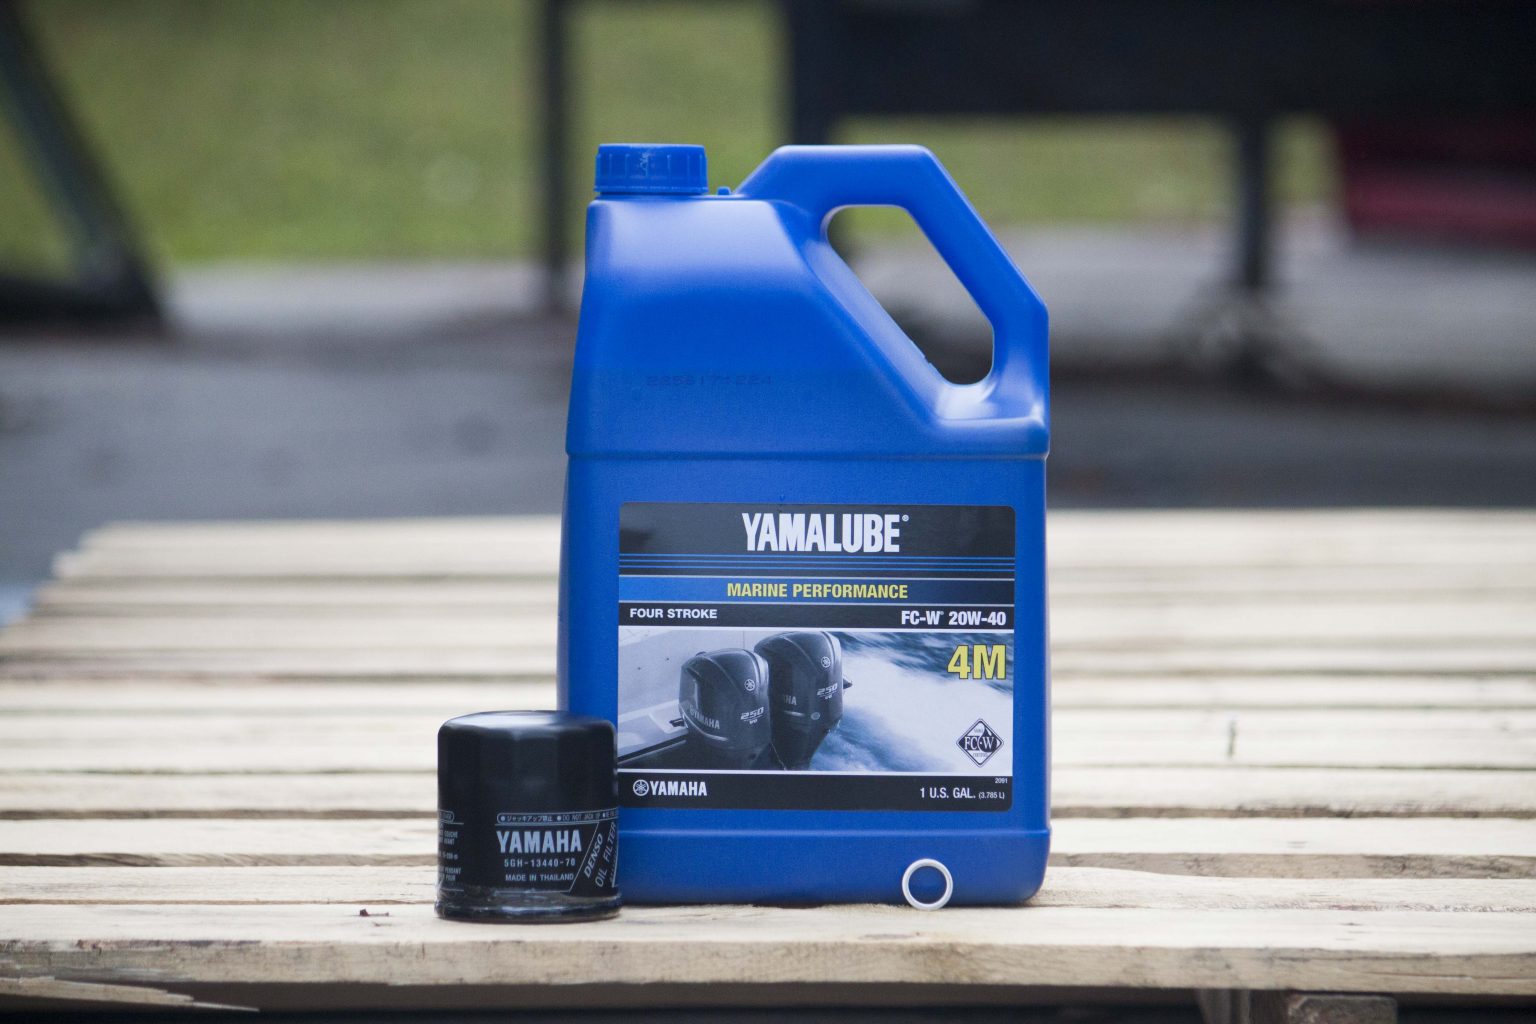
When changing your engine oil for your Yamaha outboard, it’s best to use Yamalube, Yamaha’s line of engine oil, and other lubricants.
Specifically formulated to match Yamaha specs, Yamalube matches the requirements of your engine. Yamalube 4M and 2M marine engine oils are formulated with special anti-corrosion agents, marine-specific anti-wear additives, shear-stable polymers, corrosion inhibitors, detergents, dispersants, and viscosity index improvers. This protects your outboard against harsh marine environments and acts as a guard against ring stick, carbon buildup, and varnish.
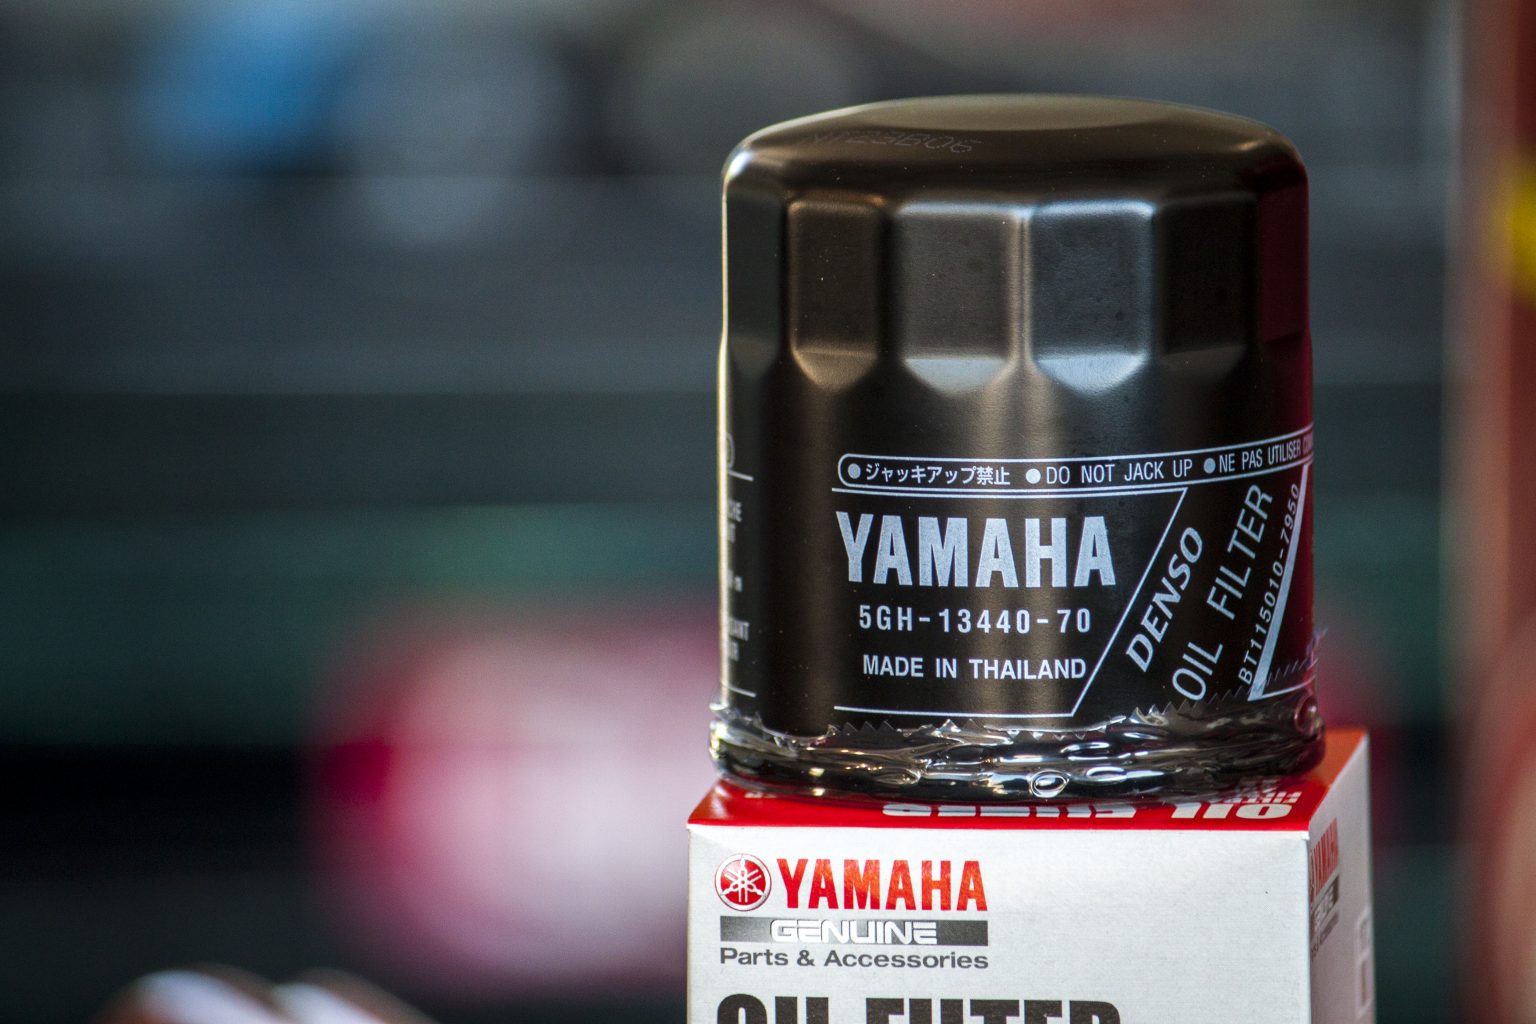
As for your outboard’s oil filter, Yamaha oil filters are manufactured using only the finest components and construction methods available, including a special filter media and metal filter media bases (compared to cardboard). This means that your oil filter achieves higher levels of durability and filtration versus aftermarket oil filter alternatives.
Can I Use Automotive Engine Oils in My Yamaha Outboard Engine?
Let’s be clear: You should NEVER use automotive engine oils in your Yamaha outboard motor.
Your Yamaha outboard engine is built differently than automotive engines. Here are a few reasons why you should only use Yamalube products in your outboard versus automotive engine oil:
- Outboard engine load: The loads placed on your outboard exceed those of most automobiles, as outboards work against much greater amounts of drag. Yamalube 4M and 2M marine engine oils contain specific anti-wear additives to offset this factor.
- Higher RPMs: Yamaha outboards operate at significantly higher RPMs than most automobile engines, demanding lubricants that don’t shear under the stress of performance. Yamalube 4M and 2M outboard engine oils have special shear-stable polymers to provide superior lubrication at all times.
- Lower operating temperature: Because Yamaha outboards are water-cooled, outboard engine oil must be rated for cooler temperatures encountered on the water. The reasons for this include the crystallization of saltwater if its temperature is raised above 170° F that can clog cooling passages, causing overheating issues. Yamalube marine oils have detergents, dispersants, and viscosity index improvers that meet the marine-specific needs without failure for hundreds of hours of reliability.
What’s the Difference between 4-Stroke versus 2-Stroke Engine Oil Maintenance?
While we covered 4-stroke engine oil maintenance oil in this article, you should know that 2-stroke engine oil maintenance is performed differently. Here’s the difference:
- 4-stroke outboards have internal oil reservoirs and sumps, which need regular oil level checks, filter replacements, and oil changes at least annually.
By contrast, 2-stroke outboard generally have an external oil tank with the oil and fuel mixture injected into the cylinder. As the engine operates, the engine oil is gradually consumed – which means that the oil tank level must be maintained, replacing oil as it is used up. As part of 2-stroke maintenance, you will need to service all these components, including any external oil pumps and other components.

This content was designed to serve as a general guide. Persons who are not familiar with marine engine repair and have not been trained in the recommended servicing or installation procedures should have the work performed by an authorized marine mechanic. Improper installation or servicing of parts can result in engine or boat damage, personal injury to the installer, or harm to persons operating the product.